How to Change Your Engine Oil at Home: A Step-by-Step DIY Guide
An oil change is the single most valuable maintenance job you can do yourself. It takes under an hour, costs a fraction of what a shop charges, and you know exactly what oil went in and that the filter actually got replaced. If you can turn a wrench and follow a sequence, you can do this in your driveway. Here’s the full process, the way a shop would run it.
How Often Should You Change Your Oil?
The old 3,000-mile rule is mostly history. Most modern cars running full synthetic oil go 5,000 to 7,500 miles between changes, and some manufacturers specify even longer intervals. But “longer” assumes normal driving — short trips, stop-and-go traffic, towing, and dusty conditions all shorten the interval.
The only answer that matters is the one in your owner’s manual. Check the mileage interval AND the time interval (usually 6 or 12 months, whichever comes first). If your car has an oil-life monitor, treat it as a reminder, not gospel — it estimates, it doesn’t analyze. When in doubt, earlier is always safer than later. Clean oil is cheap insurance; a sludged engine is not.
What Oil and Filter Does Your Car Need?
Three things must match: viscosity grade (like 5W-30), specification (API SP, dexos, VW 502, etc.), and the correct filter for your engine. All three are printed in your owner’s manual or on the oil filler cap. Do not guess — the wrong viscosity in a modern engine with variable valve timing can cause real problems, and the wrong filter can starve the engine of oil at startup.
Buy name-brand oil that meets your car’s spec and an OEM-quality filter. This is not the place to save two dollars. Grab an extra quart beyond your engine’s capacity — you’ll use it to top off between changes.
What You’ll Need
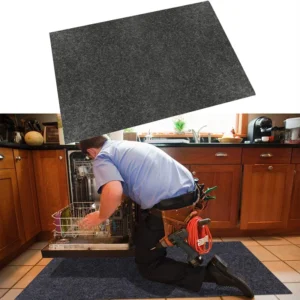
Car Maintenance Mat (Oil-Proof, Waterproof) — $16.99–$43.99
Lay this absorbent, waterproof mat under the engine before you start and drips never reach your driveway or garage floor. Doubles as a creeper pad when you’re working underneath.
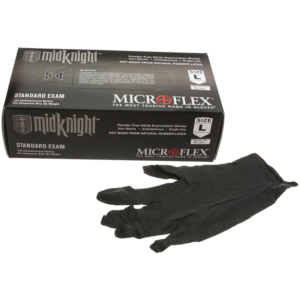
Nitrile / Latex Disposable Gloves — $24.99
Used motor oil is nasty stuff you don’t want soaking into your skin. Glove up before the drain plug comes out and toss them when you’re done.
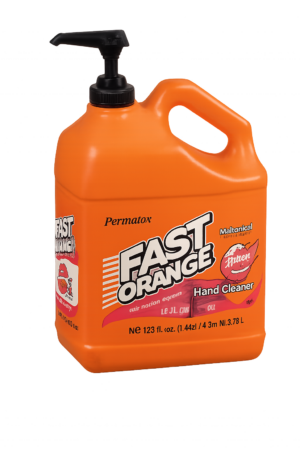
Hand Cleaners (ZEP / Permatex) — $34.99–$259.99
For the grease that gets past the gloves. A proper hand cleaner takes off what soap won’t touch — keep it by the sink and you’ll actually use it.
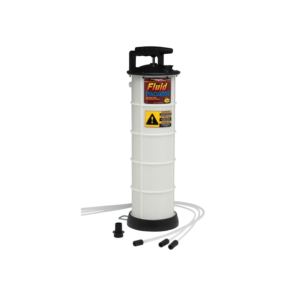
Fluid Evacuation Pump (Manual, 1.9 Gallon) — $269.99
The pro move: pull old oil out through the dipstick tube from above — no crawling under the car, no drain plug wrestling. 35 in stock. Pays for itself if you’re servicing the whole family fleet.
Beyond that: the correct oil and filter for your vehicle (check the manual), a socket wrench with the right size for your drain plug, an oil filter wrench or cap tool if your filter is stubborn, and a funnel for the refill. A pair of ramps or a floor jack with jack stands gets you underneath safely — never work under a car supported only by a jack.
Step 1 — Warm Up, Then Park Safe
Drive the car for 5–10 minutes so the oil warms up and flows freely — warm oil drains faster and carries more contaminants out with it. Then park on a flat, level surface, set the parking brake, and chock the rear wheels. A level car drains completely and gives you an accurate dipstick reading later.
Step 2 — Lift and Secure the Car
Raise the front with a floor jack at the manufacturer’s jack point and set it down firmly on jack stands. Give the car a solid shake before you go under — if it moves on the stands, reset them. Ramps work too, as long as the car sits level enough to drain fully. Put your drain pan and tools within arm’s reach before you slide underneath.
Step 3 — Drain the Old Oil
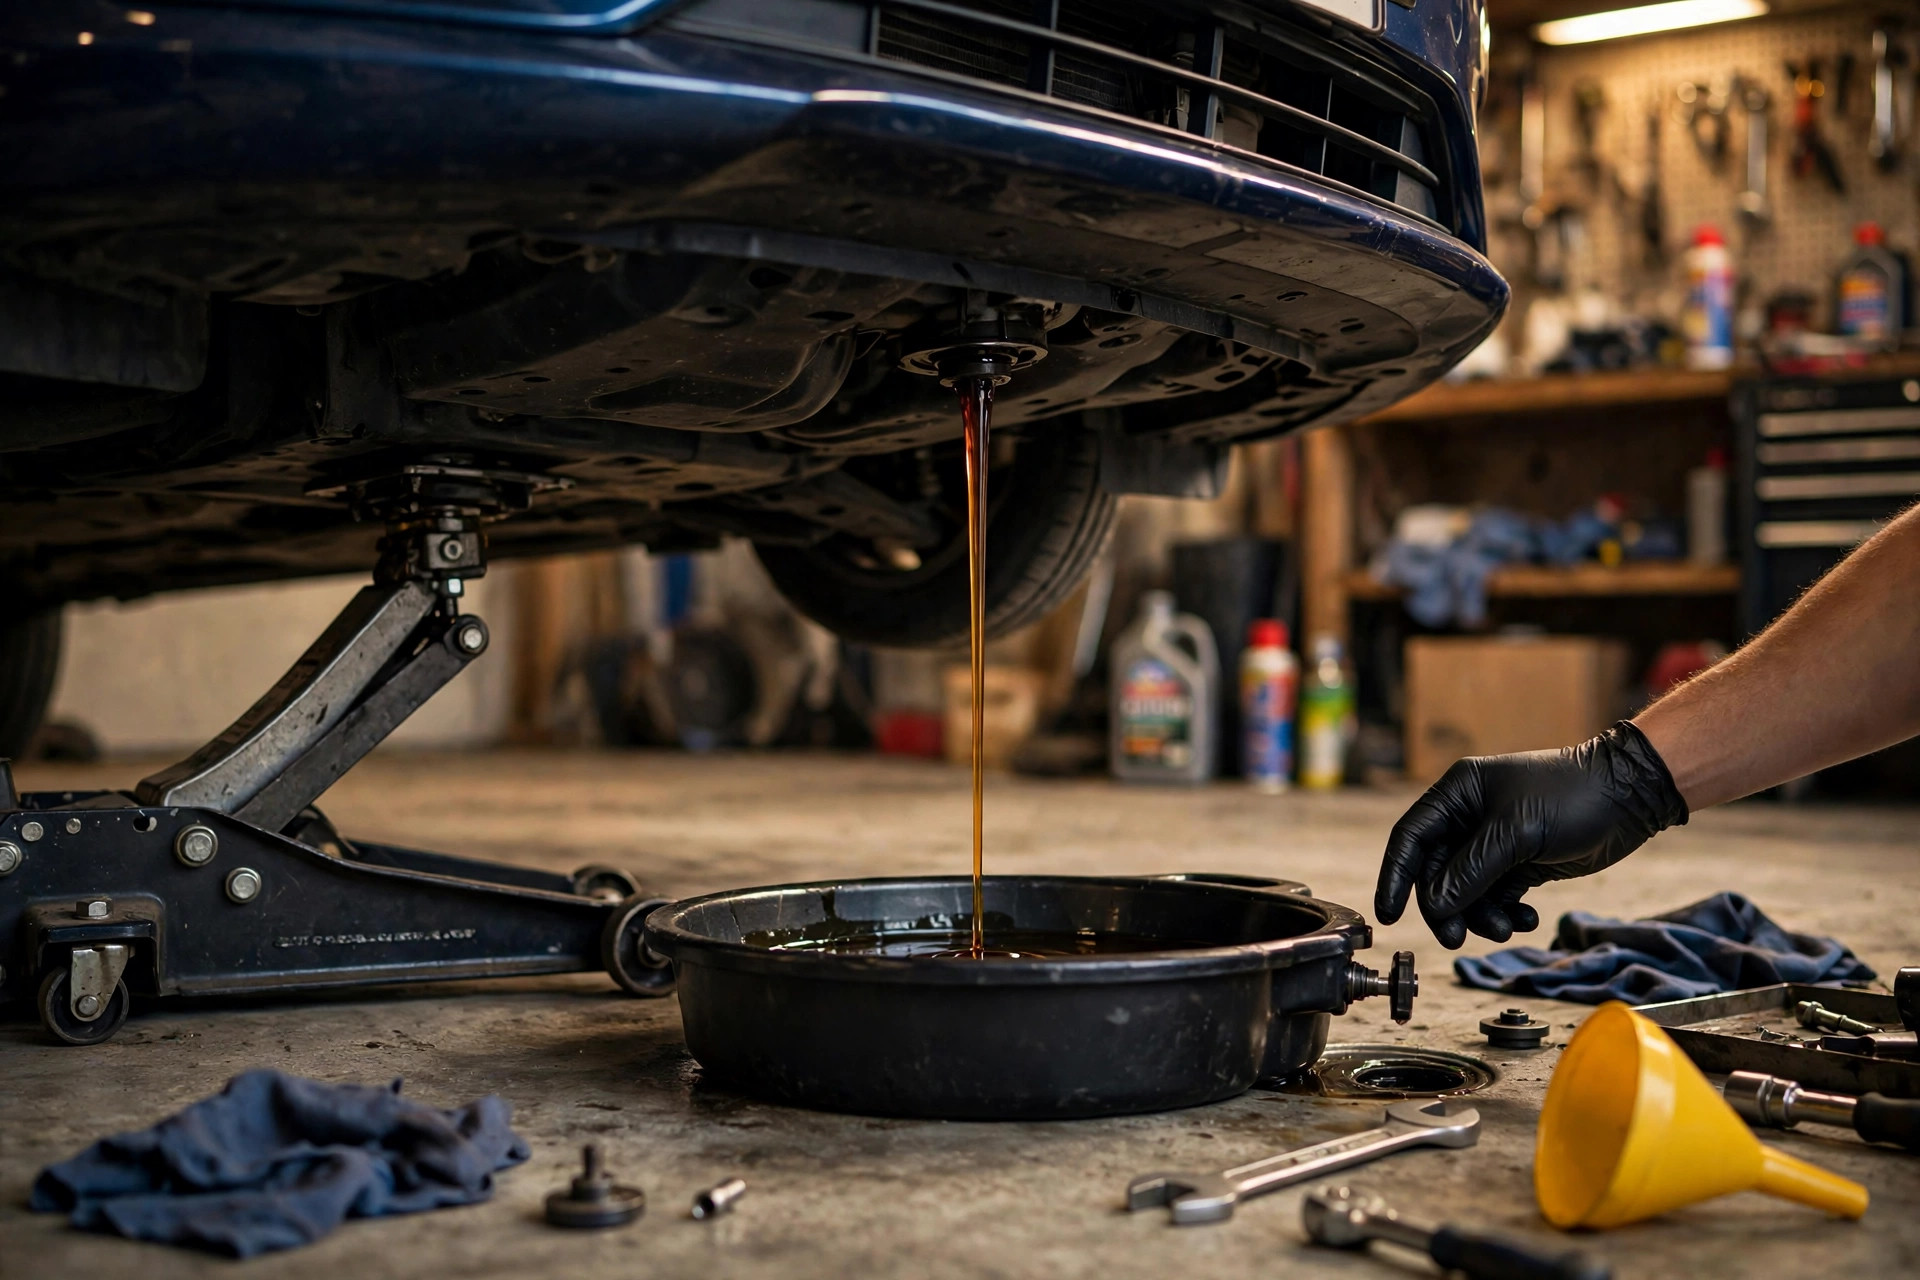
Locate the drain plug on the oil pan (your manual shows it). Position the drain pan underneath, offset slightly toward where the oil will arc out. Loosen the plug with your socket wrench, then finish removing it by hand — and be ready, because the oil comes out fast and hot. Let it drain for at least 10–15 minutes until it’s down to an occasional drip. While it drains, wipe the plug clean and inspect the washer or gasket — replace it if it’s crushed or cracked.
Don’t want to crawl underneath at all? A fluid evacuation pump pulls the old oil out through the dipstick tube from above — same result, no jack stands required.
Step 4 — Swap the Filter
Move the drain pan under the filter location and unscrew the old filter (it holds oil, so expect spillage — lay an absorbent maintenance mat down first and the floor stays clean). Before installing the new filter, smear a thin film of fresh oil on its rubber gasket with your fingertip — this keeps the gasket from binding and makes the next change easier. Spin the new filter on by hand until the gasket seats, then tighten it another three-quarter turn. Do not crank it with a wrench; overtightened filters are the number one cause of stuck filters next time.
Step 5 — Reinstall the Plug and Refill
Thread the drain plug back in by hand first to avoid cross-threading, then snug it with the wrench — firm, not gorilla-tight. Your manual lists the torque spec; if you don’t have a torque wrench, “snug plus a quarter turn” is the shop rule of thumb for a plug with a fresh washer. Lower the car back to level ground.
Now refill: remove the oil filler cap, set your funnel in place, and pour in about three-quarters of your engine’s stated capacity. Wait a minute for it to settle, check the dipstick, and add the rest gradually until the level sits between the marks — never above the full line. Overfilling is as bad as underfilling.
Step 6 — Check, Reset, and Record
Start the engine and let it run for 30 seconds, then shut it off and look underneath for leaks around the plug and filter. Check the dipstick once more and top off if needed. Reset your oil-life monitor or maintenance reminder (the procedure is in your manual — it’s usually a few button presses). Finally, write the date and mileage on the new filter or a sticker under the hood. Future you will thank present you.
Cleanup and Used Oil Disposal
Pour the used oil from the drain pan into the empty bottles your new oil came in — a funnel makes this mess-free — and seal them. Used oil is hazardous waste: never dump it on the ground or down a drain. Every auto parts store and most municipal recycling centers accept used motor oil for free, and many take the old filter too. Bag the filter in a zip-top bag so it doesn’t drip in your trunk on the way there.
Gear Up at DAutoHaus
Whether this is your first oil change or your five-hundredth, having the right gear on hand is what turns a messy chore into a smooth Saturday-morning job. DAutoHaus carries the gloves, maintenance mats, hand cleaners, and fluid evacuation pump above — all in stock and shipping to your door. Doing oil changes for the whole family fleet or running a small shop? Ask about bulk pricing. Questions about fitment or shop orders? Call or text us at (631) 800-9911 — we’re right here on Long Island.
DAutoHaus — your shop supply source. Long Island, NY. dautohaus.com — (631) 800-9911.