Brake pads are the most replaced wear item on any car — and one of the most DIY-friendly jobs in the garage. If your brakes squeal, take longer to stop, or the wear indicator light is on, new pads are probably overdue. Here’s how shop owners and weekend DIYers do the job right, without cutting corners on safety.
Safety first: your brakes are the one system you never guess on. If anything here feels outside your comfort zone — a seized caliper, leaking fluid, a cracked rotor — stop and bring it to a professional. Brakes save lives; pride doesn’t.
Know When Your Brake Pads Are Done
Watch for these warning signs:
- High-pitched squeal when braking — most pads have a built-in wear indicator that chirps when the pad gets thin.
- Grinding — the pad material is gone and metal is meeting metal. Don’t drive it like this.
- Longer stopping distances or a spongy, low pedal feel.
- A brake warning light on the dash (many cars have an electronic wear sensor).
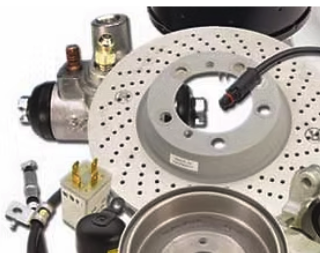
Most pads start around 10–12 mm of friction material. If you’re down to 3 mm or less, replacement time. And always check the rotors while you’re in there — deep grooves or a lip on the edge means they need attention too.
What You’ll Need
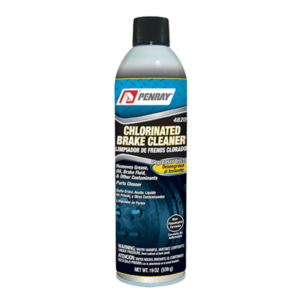
Penray 4820 Chlorinated Brake Cleaner, 19 oz — $83.88 (case of 12)
Degrease rotors, calipers, and pads before assembly. A clean friction surface seats better, runs quieter, and stops more consistently — no residue left behind.
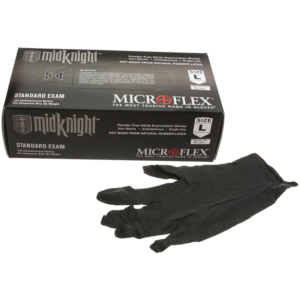
Nitrile / Latex Disposable Gloves — $24.99
Brake dust and fluid are nasty on bare hands. Box of powder-free, chemical-resistant gloves for the whole crew — every shop should keep these at arm’s reach.
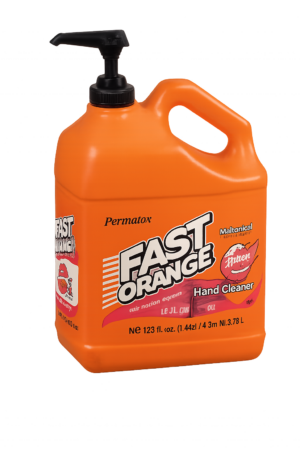
ZEP & Permatex Industrial Hand Cleaners — from $34.99
After the job: grease, brake dust, and grime don’t stand a chance. Citrus and pumice formulas built for technicians who wash up a dozen times a day.
Beyond that: a floor jack and jack stands, a lug wrench or impact gun, a basic socket set, a C-clamp or caliper piston tool, and your vehicle’s manual for the correct lug nut torque spec. Never work under a car held up by a jack alone — jack stands, always.
Step-by-Step: Changing Your Brake Pads
- Park on flat, solid ground and chock the wheels that stay on the ground. Loosen the lug nuts slightly before lifting.
- Jack up the corner and set jack stands under the factory lift points. Give the car a firm shake — if it moves, reset and retry.
- Remove the wheel. Finish unthreading the lug nuts and set the wheel aside face-up so the rim doesn’t get scratched.
- Unbolt the caliper (usually two slide bolts on the back). Slide it off the rotor and hang it with a wire or bungee — never let it dangle by the brake hose.
- Slide out the old pads. Note how they sit — the new ones go in the same orientation. Check the rotor face for scoring while you’re there.
- Compress the caliper piston with a C-clamp or piston tool so the new, thicker pads fit. Open the brake fluid reservoir cap first so displaced fluid has somewhere to go.
- Clean everything. Hit the rotor face, caliper bracket, and pad contact points with brake cleaner to strip grease and old dust. Apply brake hardware grease to the pad backs and slide pins (not the friction surfaces).
- Install the new pads into the bracket, reseat the caliper, and torque the slide bolts to the manufacturer’s spec — consult your vehicle’s manual.
- Remount the wheel, hand-tighten the lugs, lower the car, and torque the lug nuts to spec in a star pattern.
- Pump the brake pedal several times with the engine off until it feels firm before you drive. Check the fluid level and top off if needed.
Bedding In the New Pads
New pads need a break-in (bed-in) to transfer an even friction layer onto the rotor. Find a quiet road: do a series of moderate stops from about 35 mph down to 5 mph, letting the brakes cool between runs, then a few firmer stops from 45 mph. Avoid hard panic stops for the first few hundred miles. Skip this step and you can end up with vibration, noise, or uneven wear.
When to Leave It to a Pro
Pad swaps are straightforward, but some situations belong in a shop: seized or damaged calipers, leaking brake lines, cracked or badly scored rotors, ABS or electronic parking-brake systems that need a scan tool to retract the piston, and any fluid work beyond topping off. If the pedal stays soft after the job, don’t drive it — get it inspected.
Gear Up at DAutoHaus
Whether you’re a shop running ten bays or a driveway DIYer, the right supplies make brake work faster, cleaner, and safer. DAutoHaus stocks professional-grade brake cleaner, shop gloves, hand cleaners, and the tools and equipment your garage needs — right here on Long Island. Questions? Call or text us at (631) 800-9911.
DAutoHaus — your shop supply source. Long Island, NY. dautohaus.com — (631) 800-9911.